Deck 3: Framing
Posts, Beams, and Joists
Time to get building! I put in a big order for materials at the deck store, and hired a bobcat to auger the 4′ deep holes. It went surprisingly well.
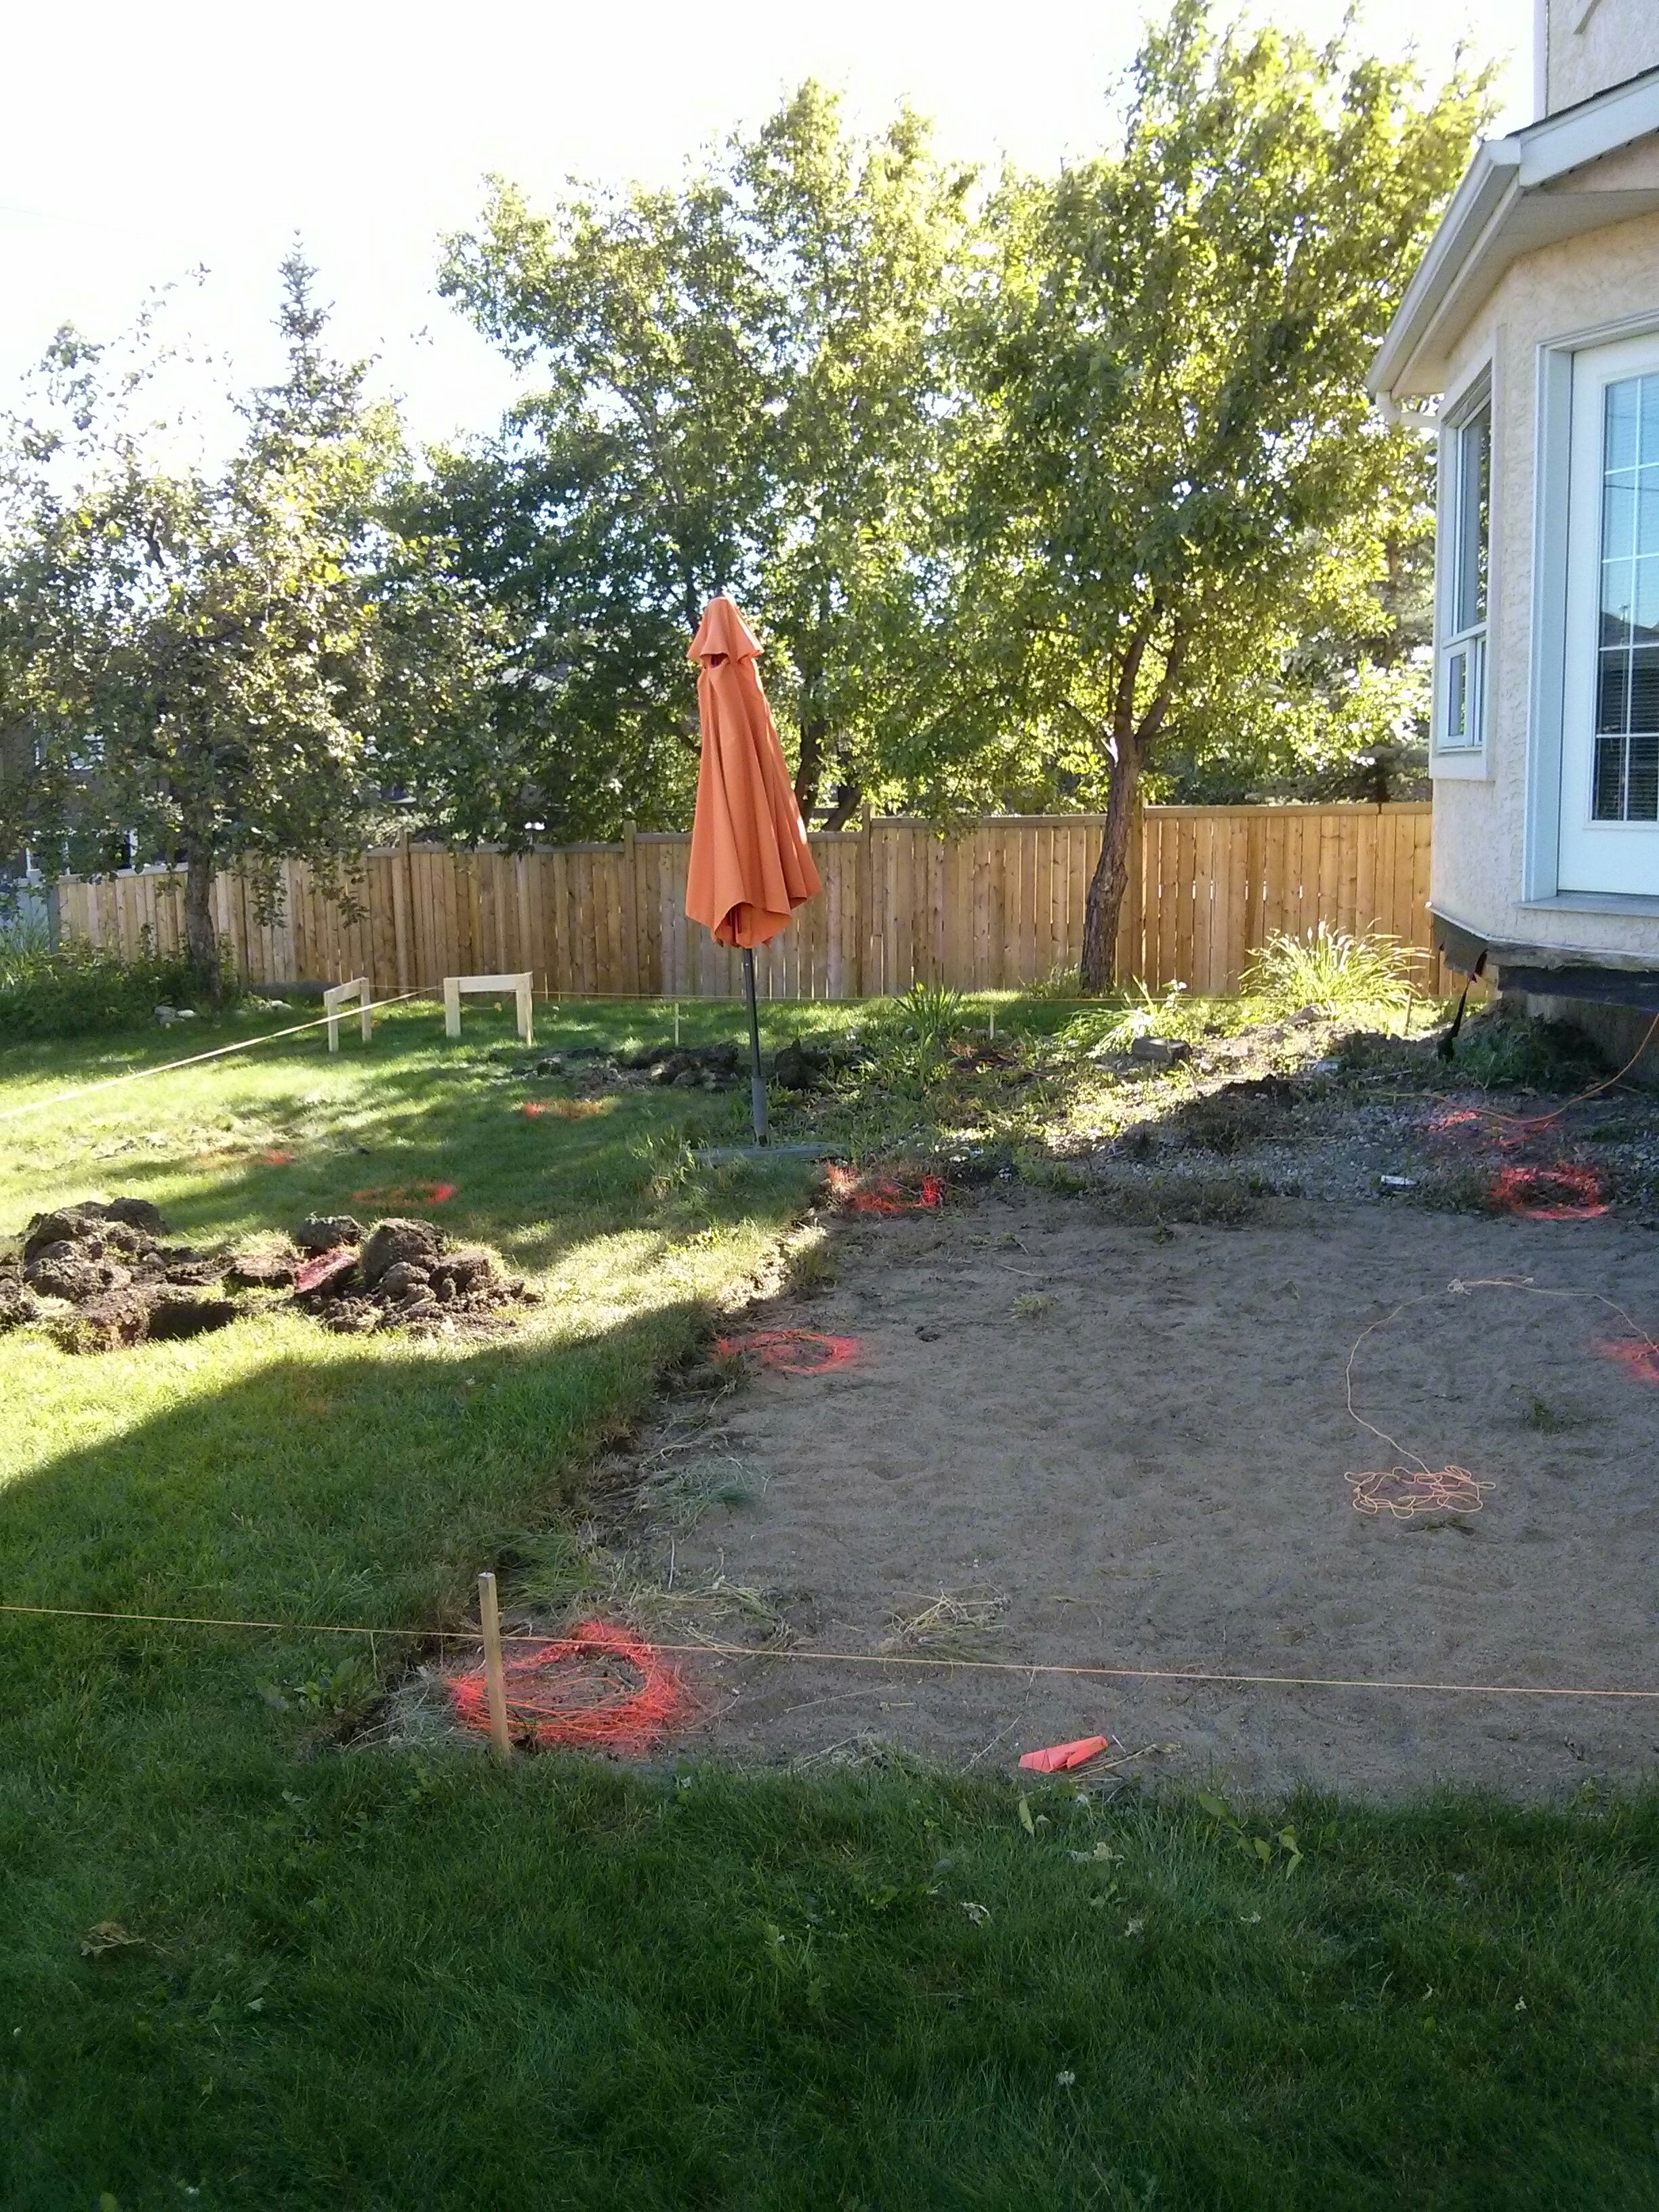
Nothing like prior preparation to make a job go smoothly. I used batter boards and string line to layout the perimeter of the deck, and then marked all of my post hole locations. A sonotube served as a handy template for my marking paint.
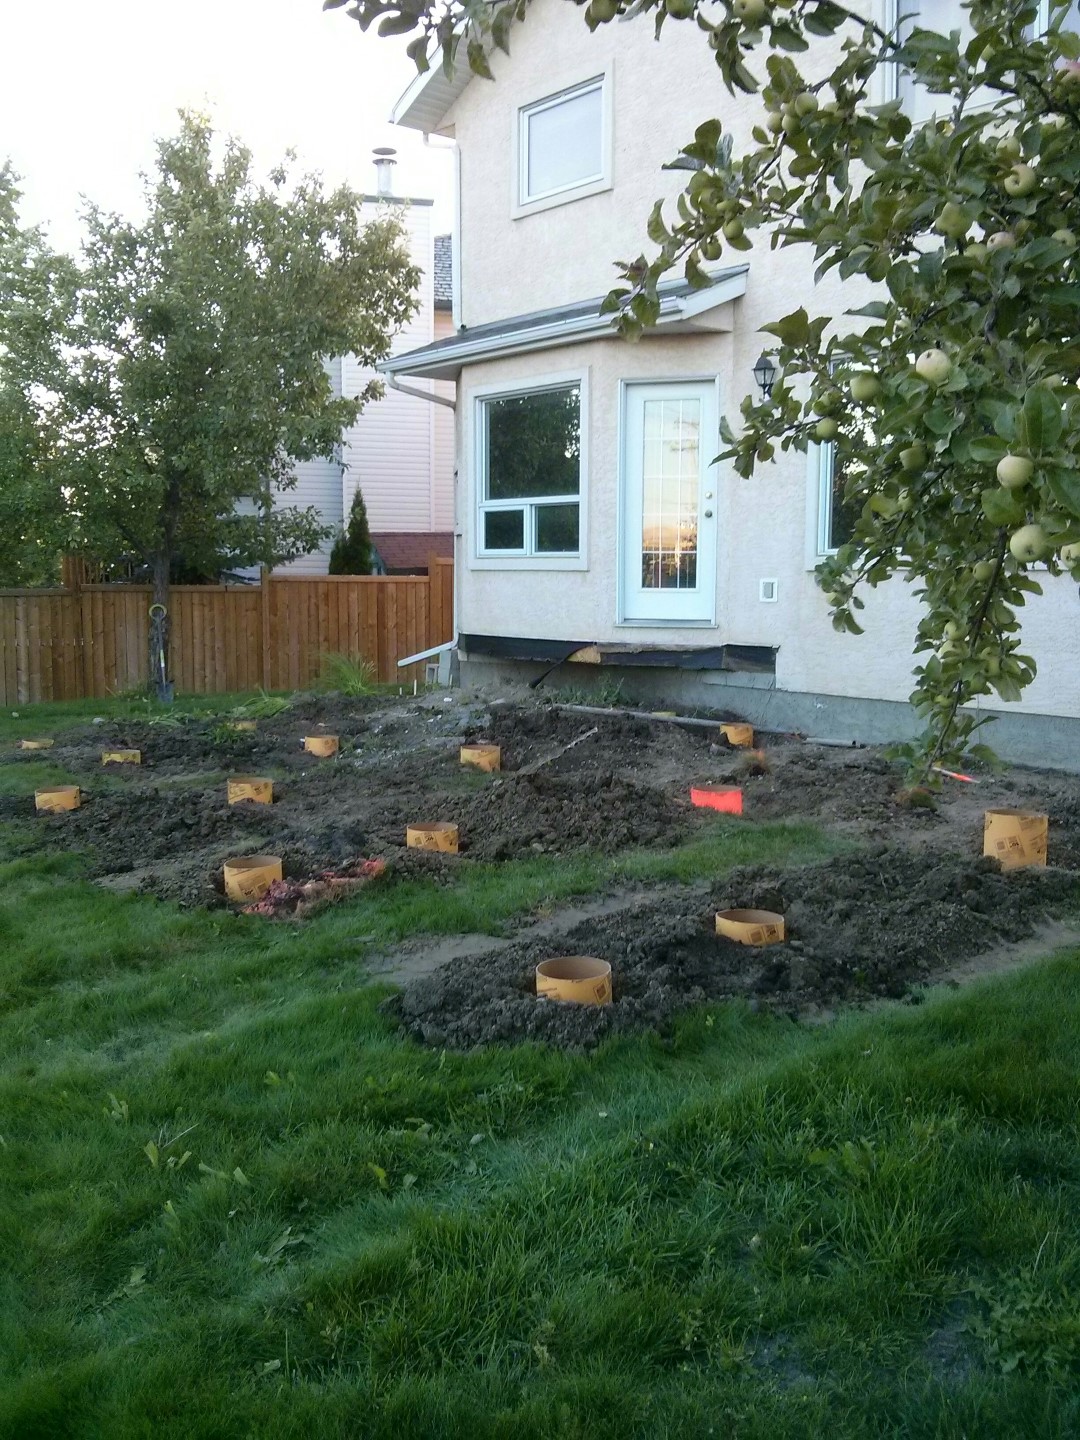
All the tubes planted in their holes. The tubes are sold in 8′ lengths, but my piles are supposed to be 4’6″. I taped garbage bags to the bottom of the tubes to create a bit of a “foot” and hopefully get us those last 6″ of support.
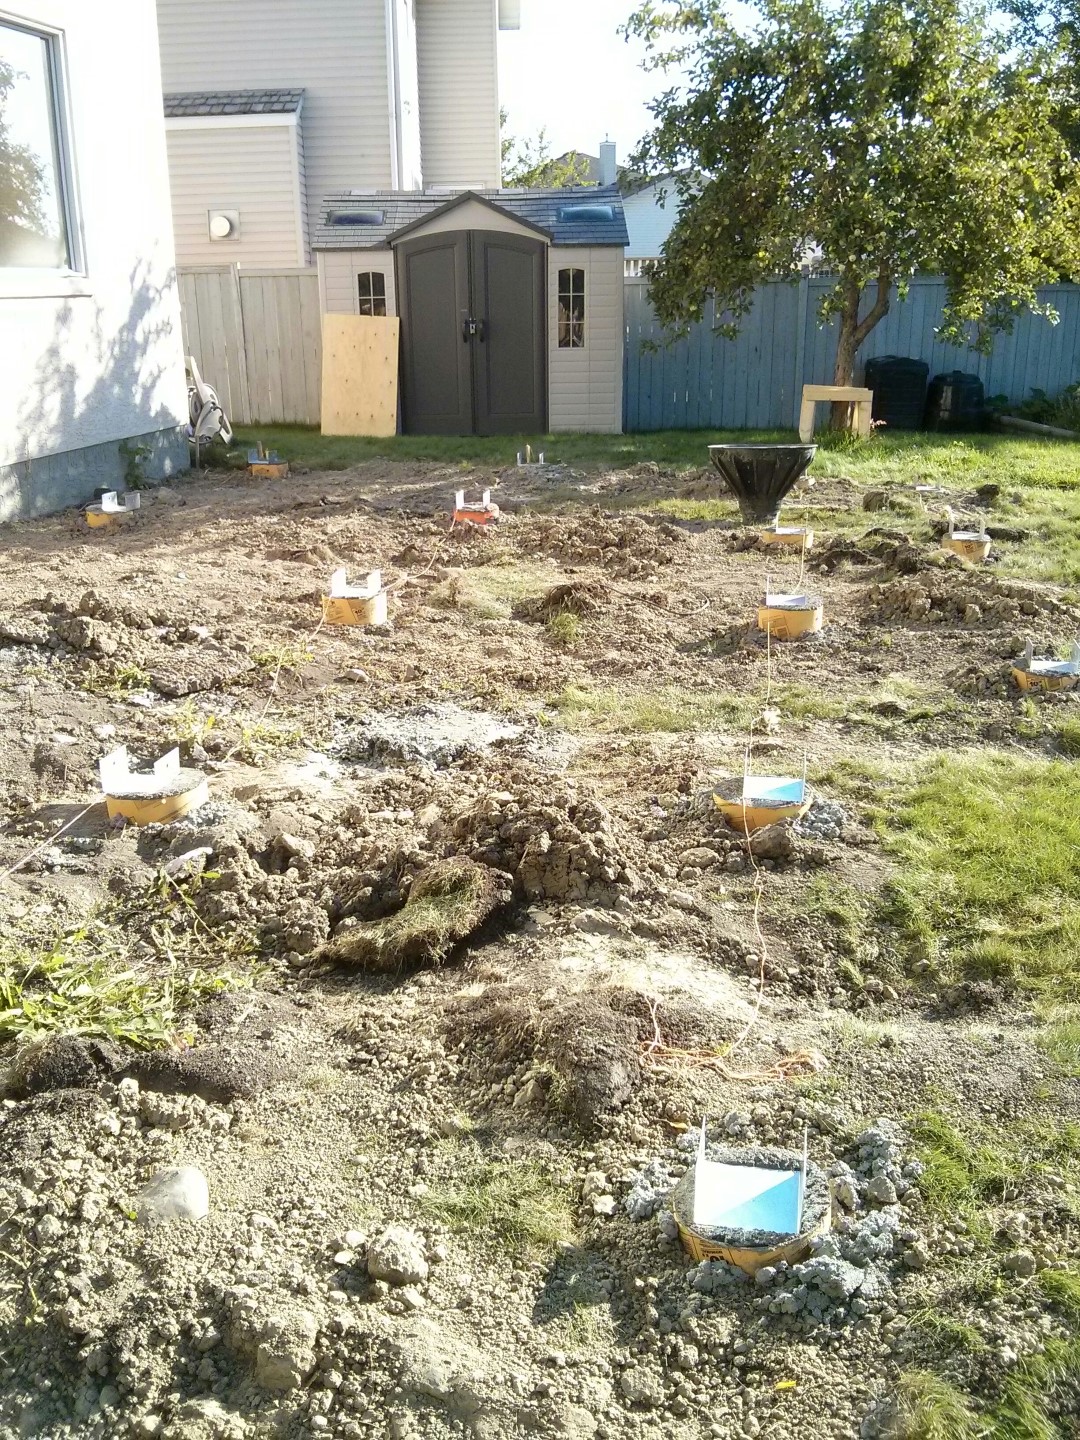
I ordered concrete for the piles from the local mini-mix. The concrete pour was pretty hectic; we rounded up all of our friends, and all the neighbours’ wheel barrows, and offloaded 1.75 cubic yards of concrete in under half an hour. This was my first time having concrete delivered, and the truck only waits 15 minutes per cube before they start charging extra. I picked up a ‘Bigfoot’ post foot to use as funnel, which was quite helpful.
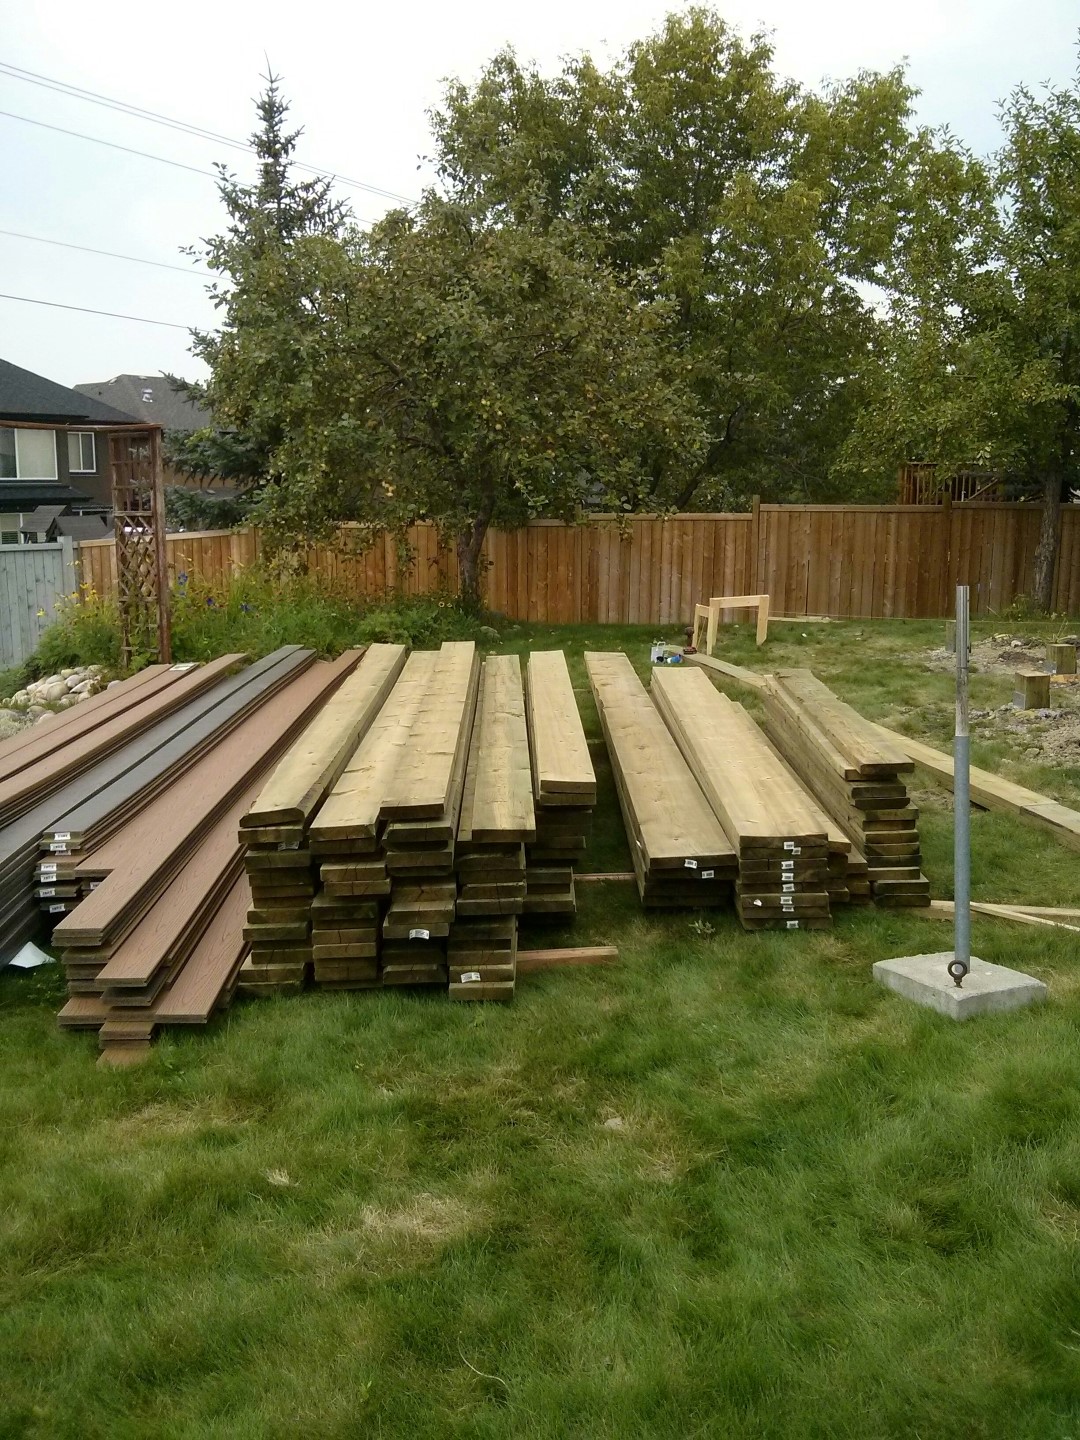
The material arrived and was deposited on the driveway. We staged it by order of use, with all the beam material nearest the deck.
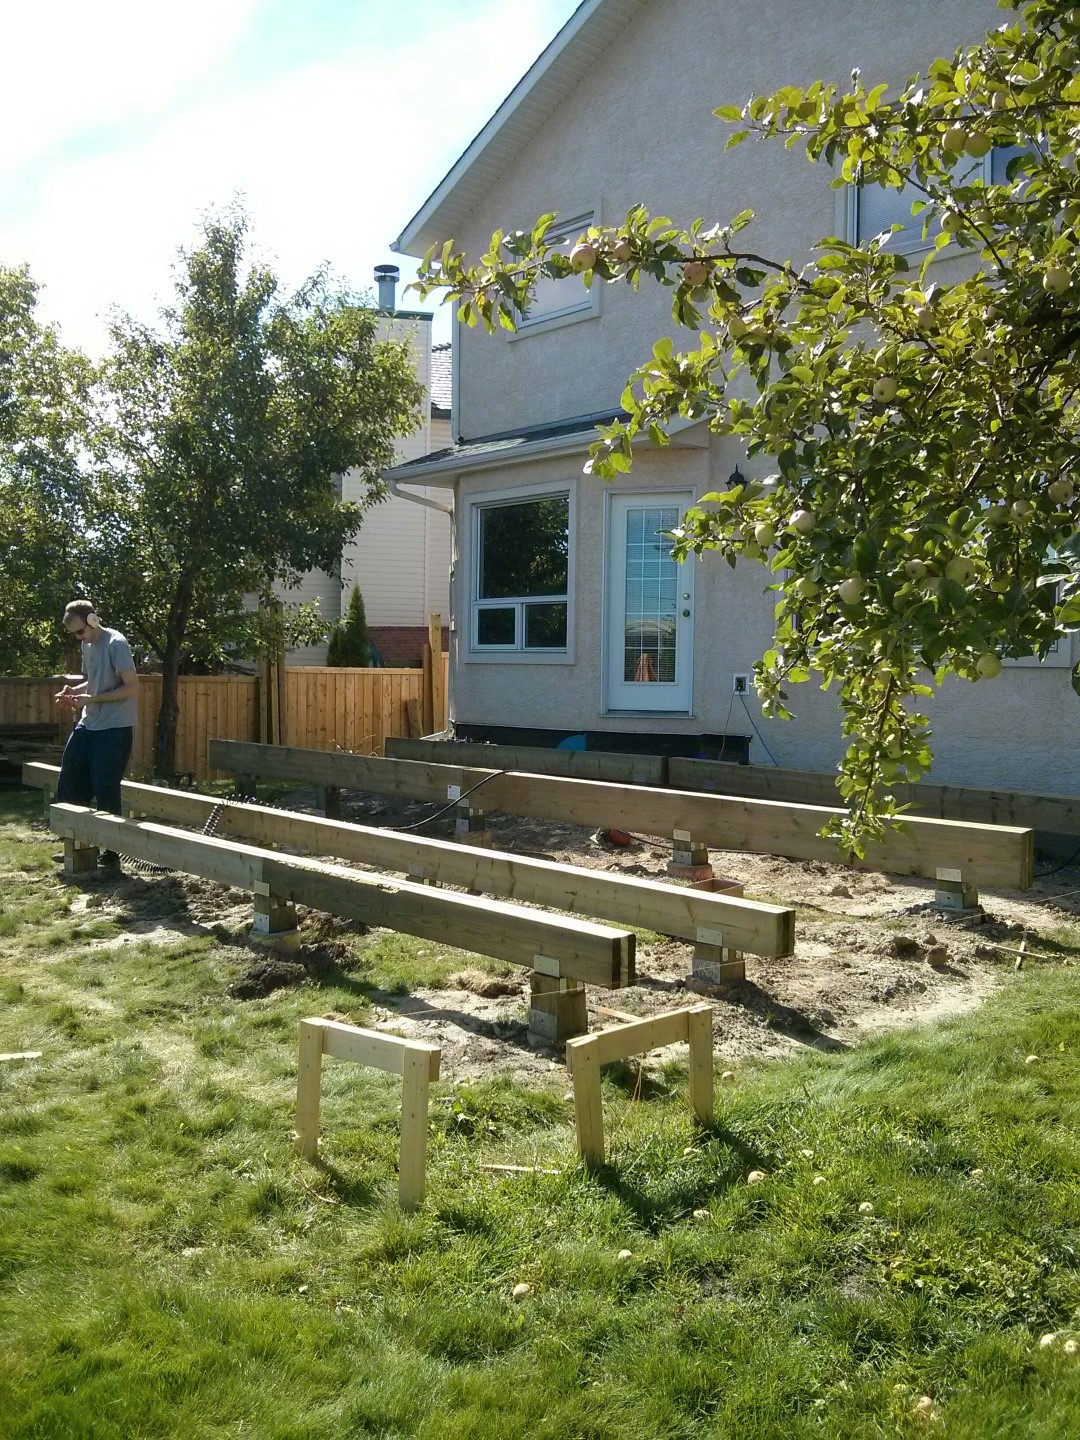
I used the laser level and yard stick from when I surveyed the yard to determine precise post lengths, and then used strongtie post-beam connectors to secure the beams to the post tops. With the posts in place, I measured the distances between them to ensure the beam splices would land on top of the posts.
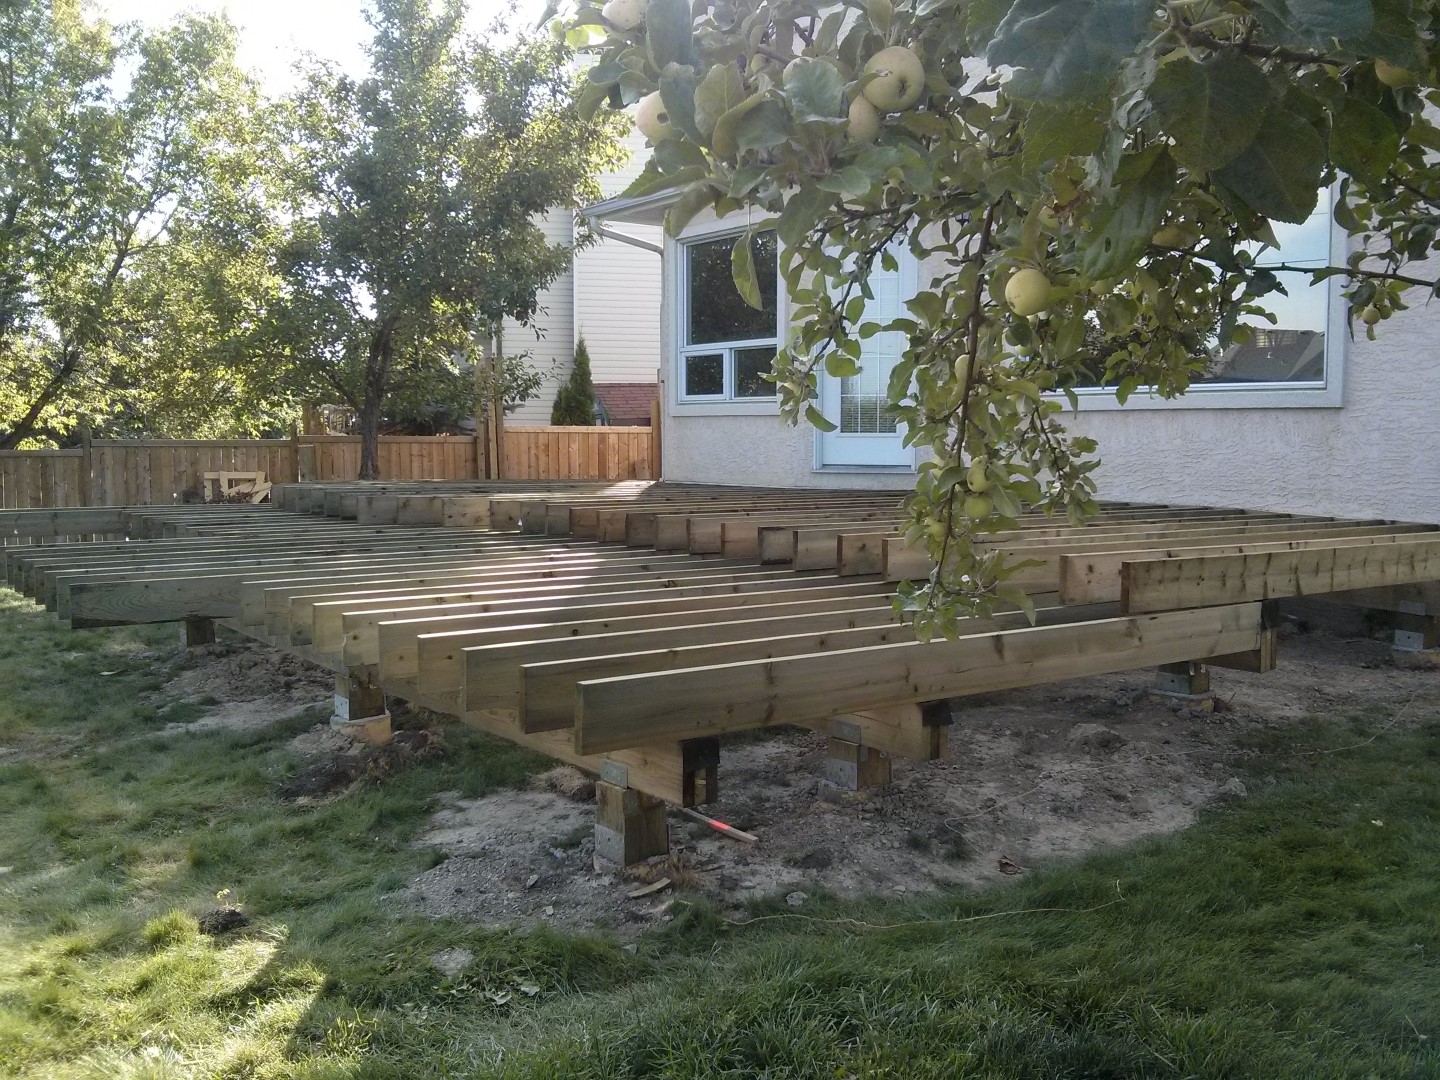
It took a while, but we eventually got all of the joists installed. The lower tier joists abutting the beam were connected with joist hangers which use a startling number of nails to secure in place. I picked up a palm nailer to drive the nails, and save my arm/fingers. Worked great.