Deck 5: Finishing Touches
Everything after the framing is just decorations right?

I used the curved boards as a template for cutting off the joists, and then we added blocking to support the ends of the field boards. The blocking along the curved section took forever.
We also stapled tar paper joist tape to the tops of all the joists to help shed water and thus prevent rot. This isn’t a huge concern in my area, but it was cheap and easy insurance.
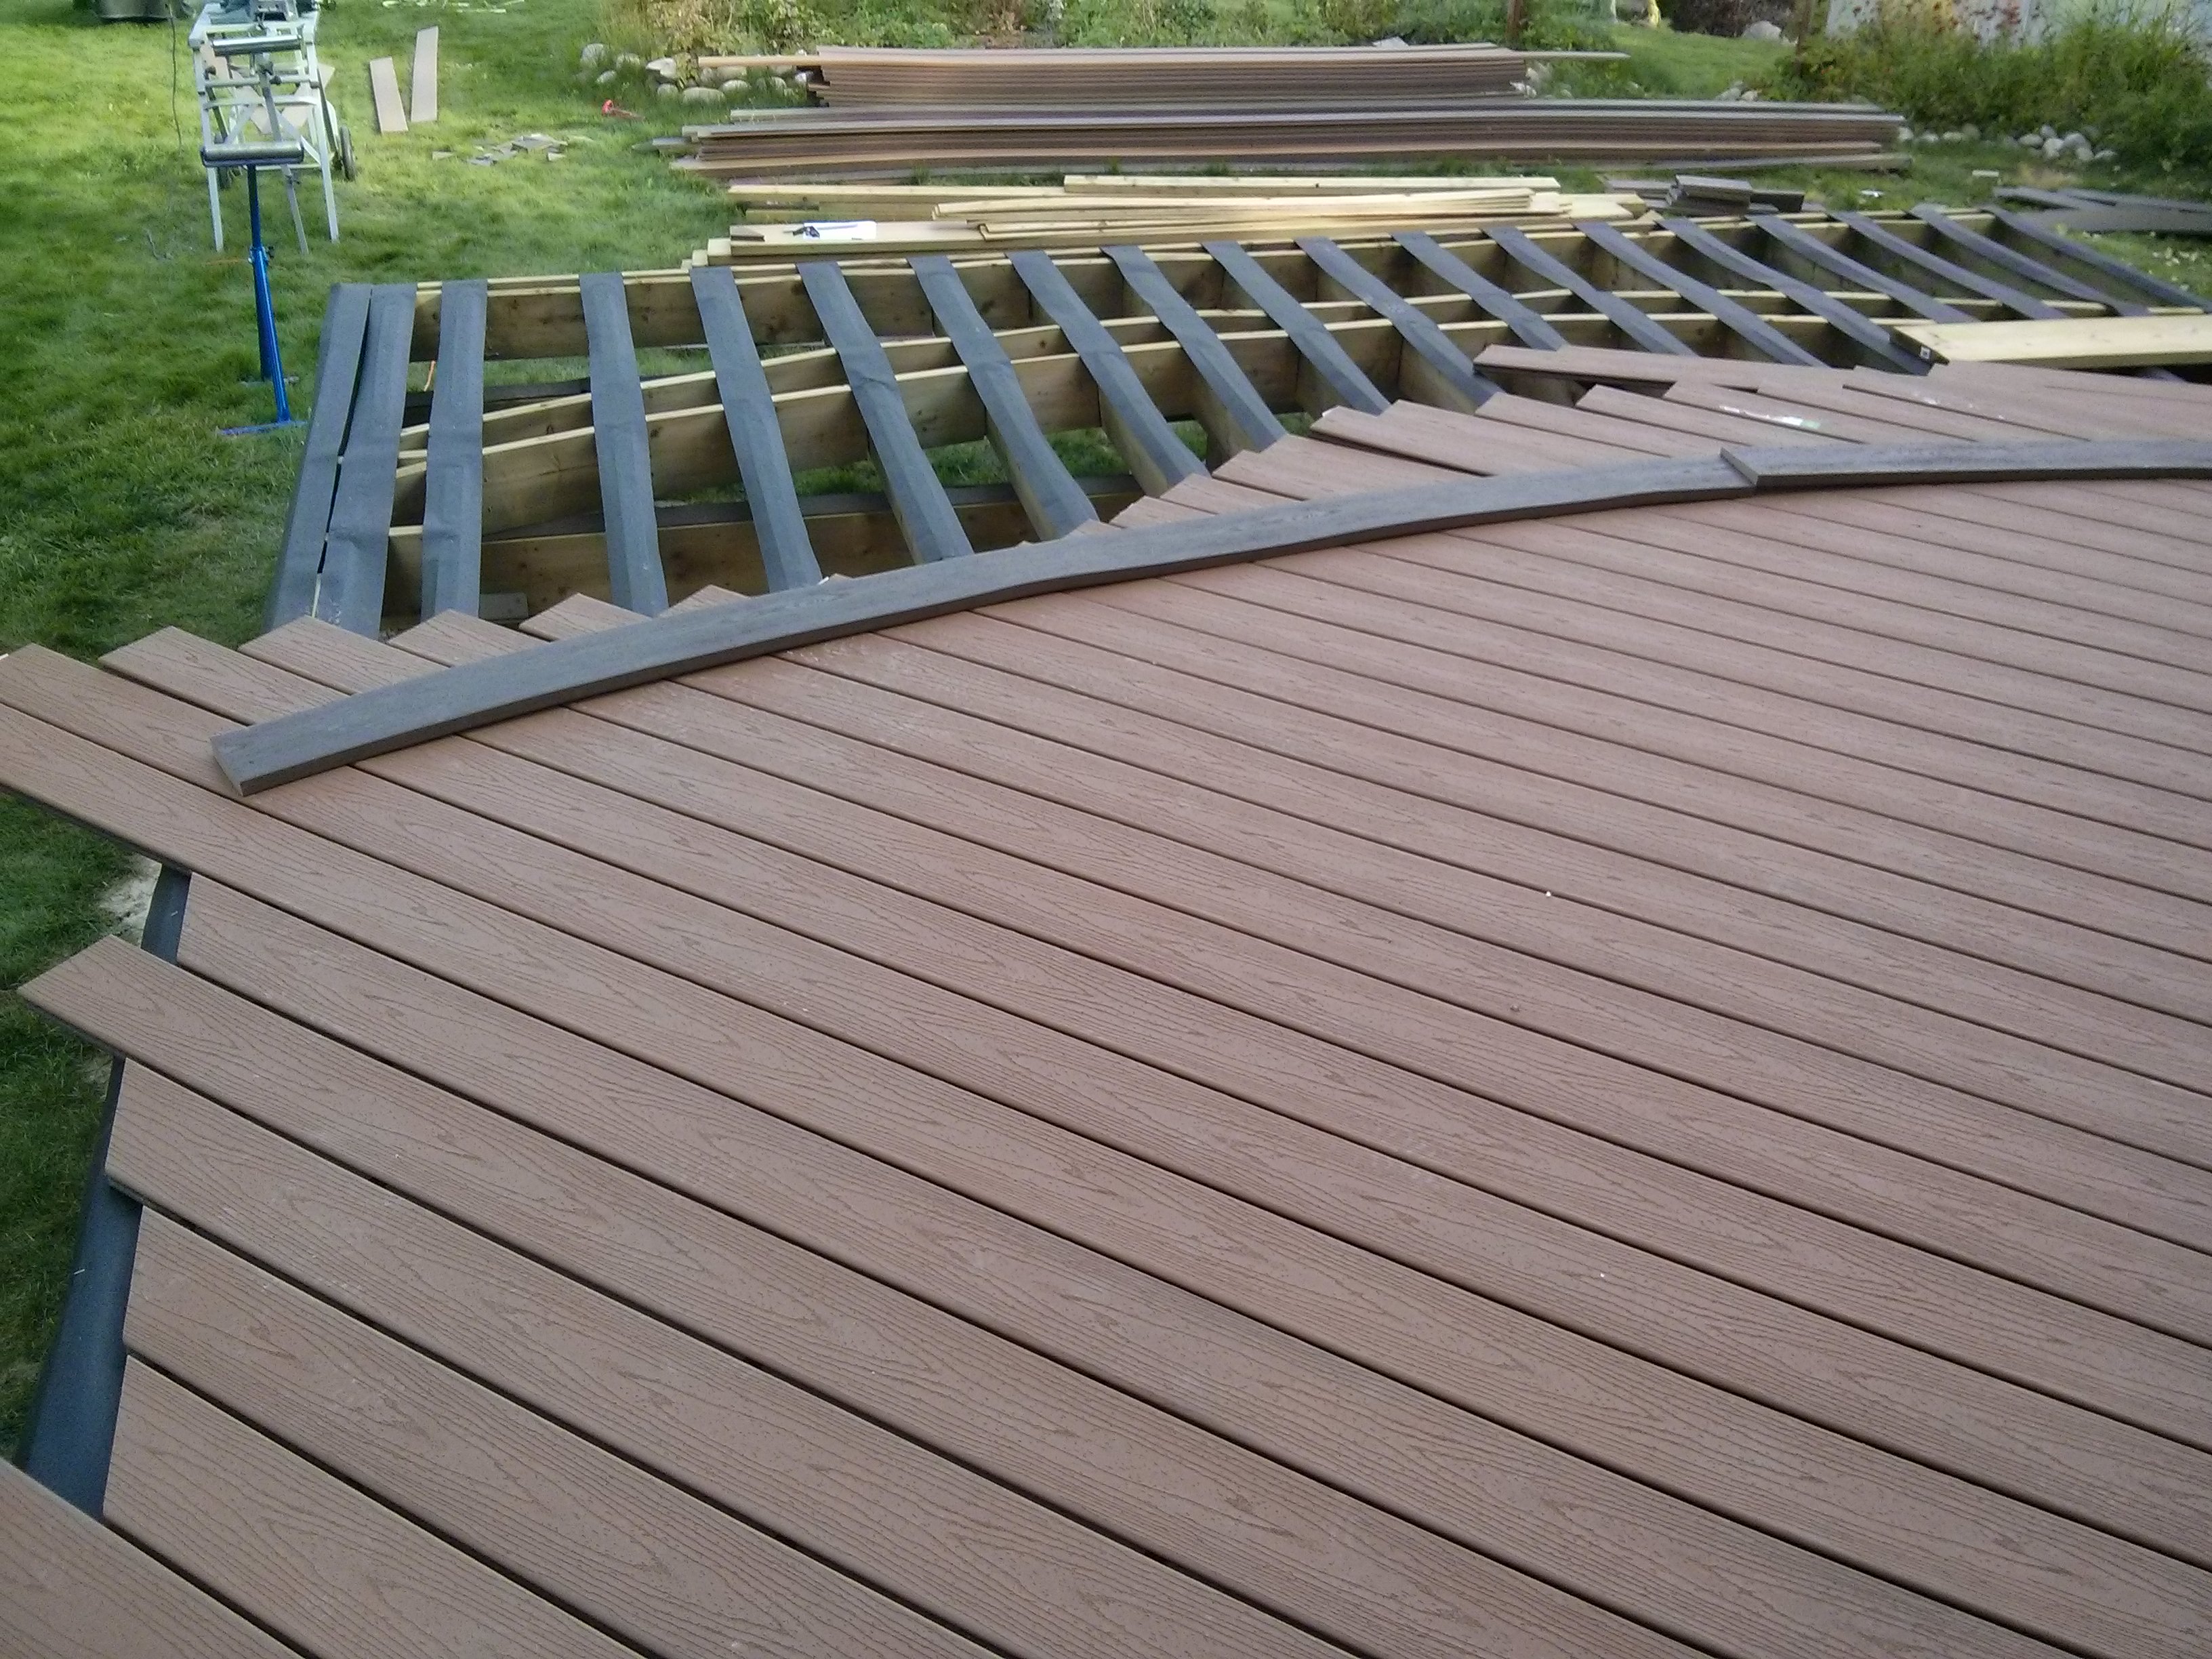
The light brown field boards are all Trex capped composite. They have grooves down the side, and work with a plastic clip fastener system. It was very easy to install; this part went quite quickly.
We only used full length boards (no butt joints), and kept all the short cutoffs for use as skirting later.
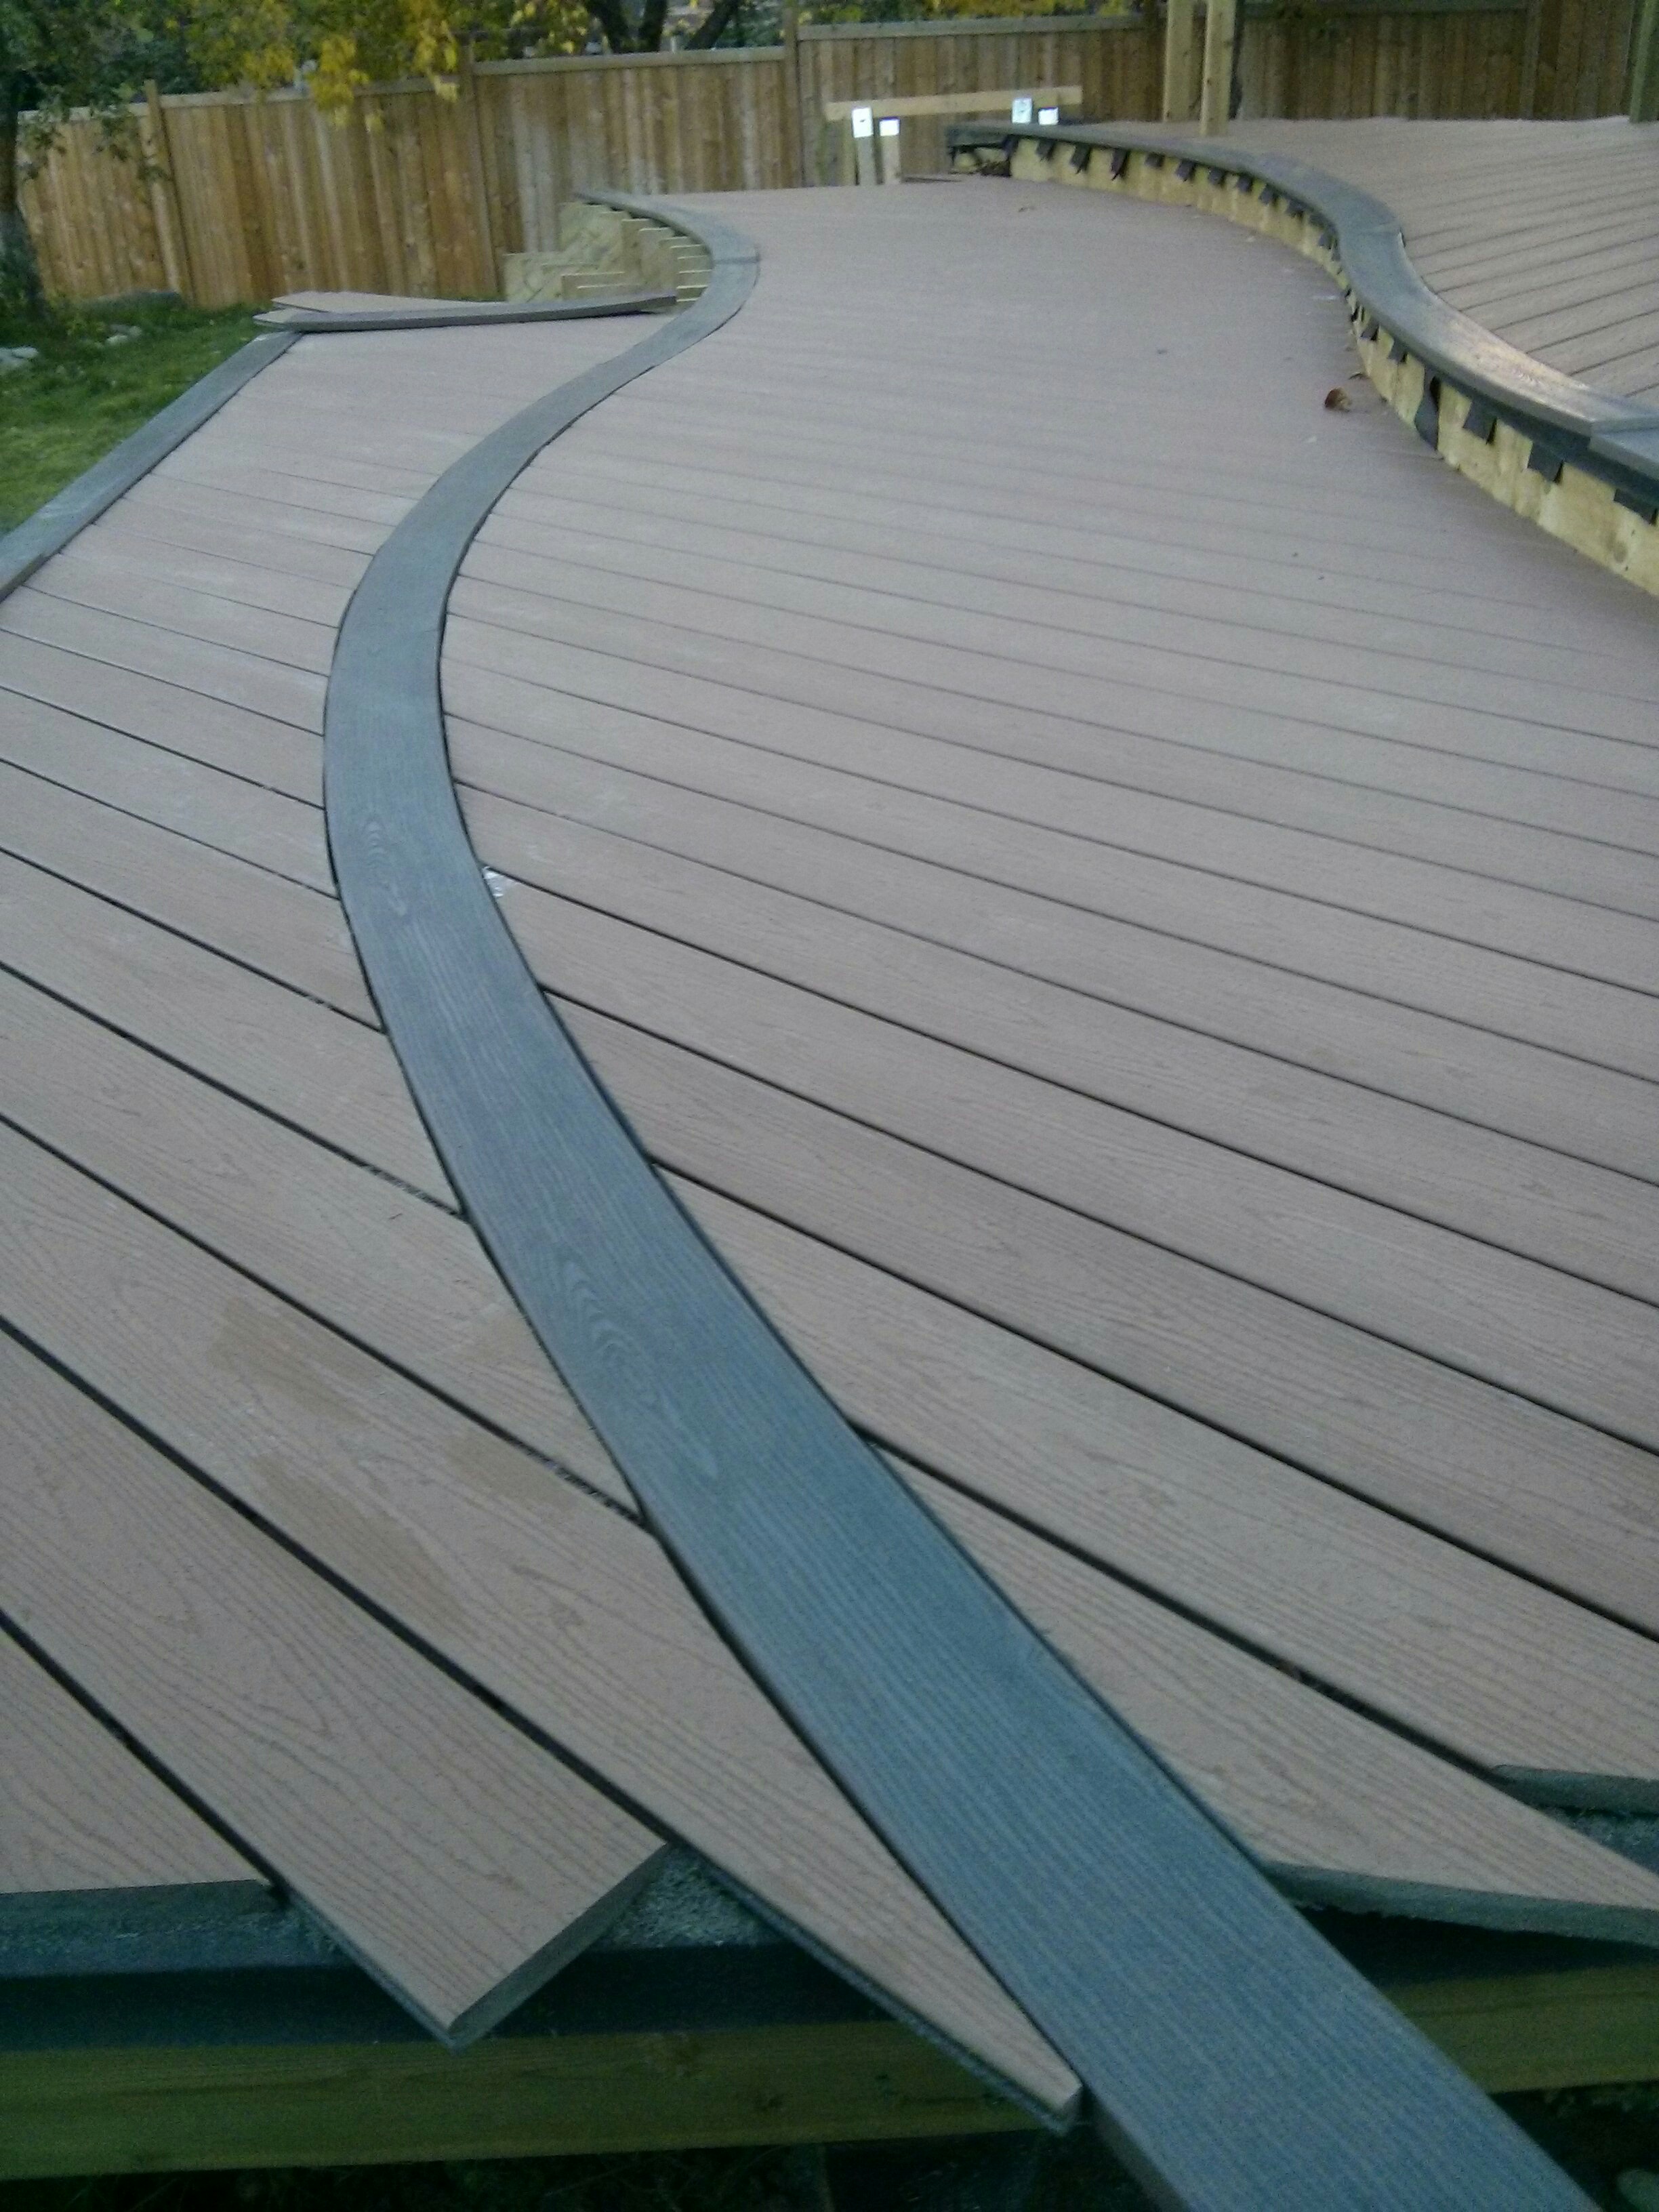
I used the curved boards as a template to mark out the inlay, and then cut the boards freehand with a circular saw.
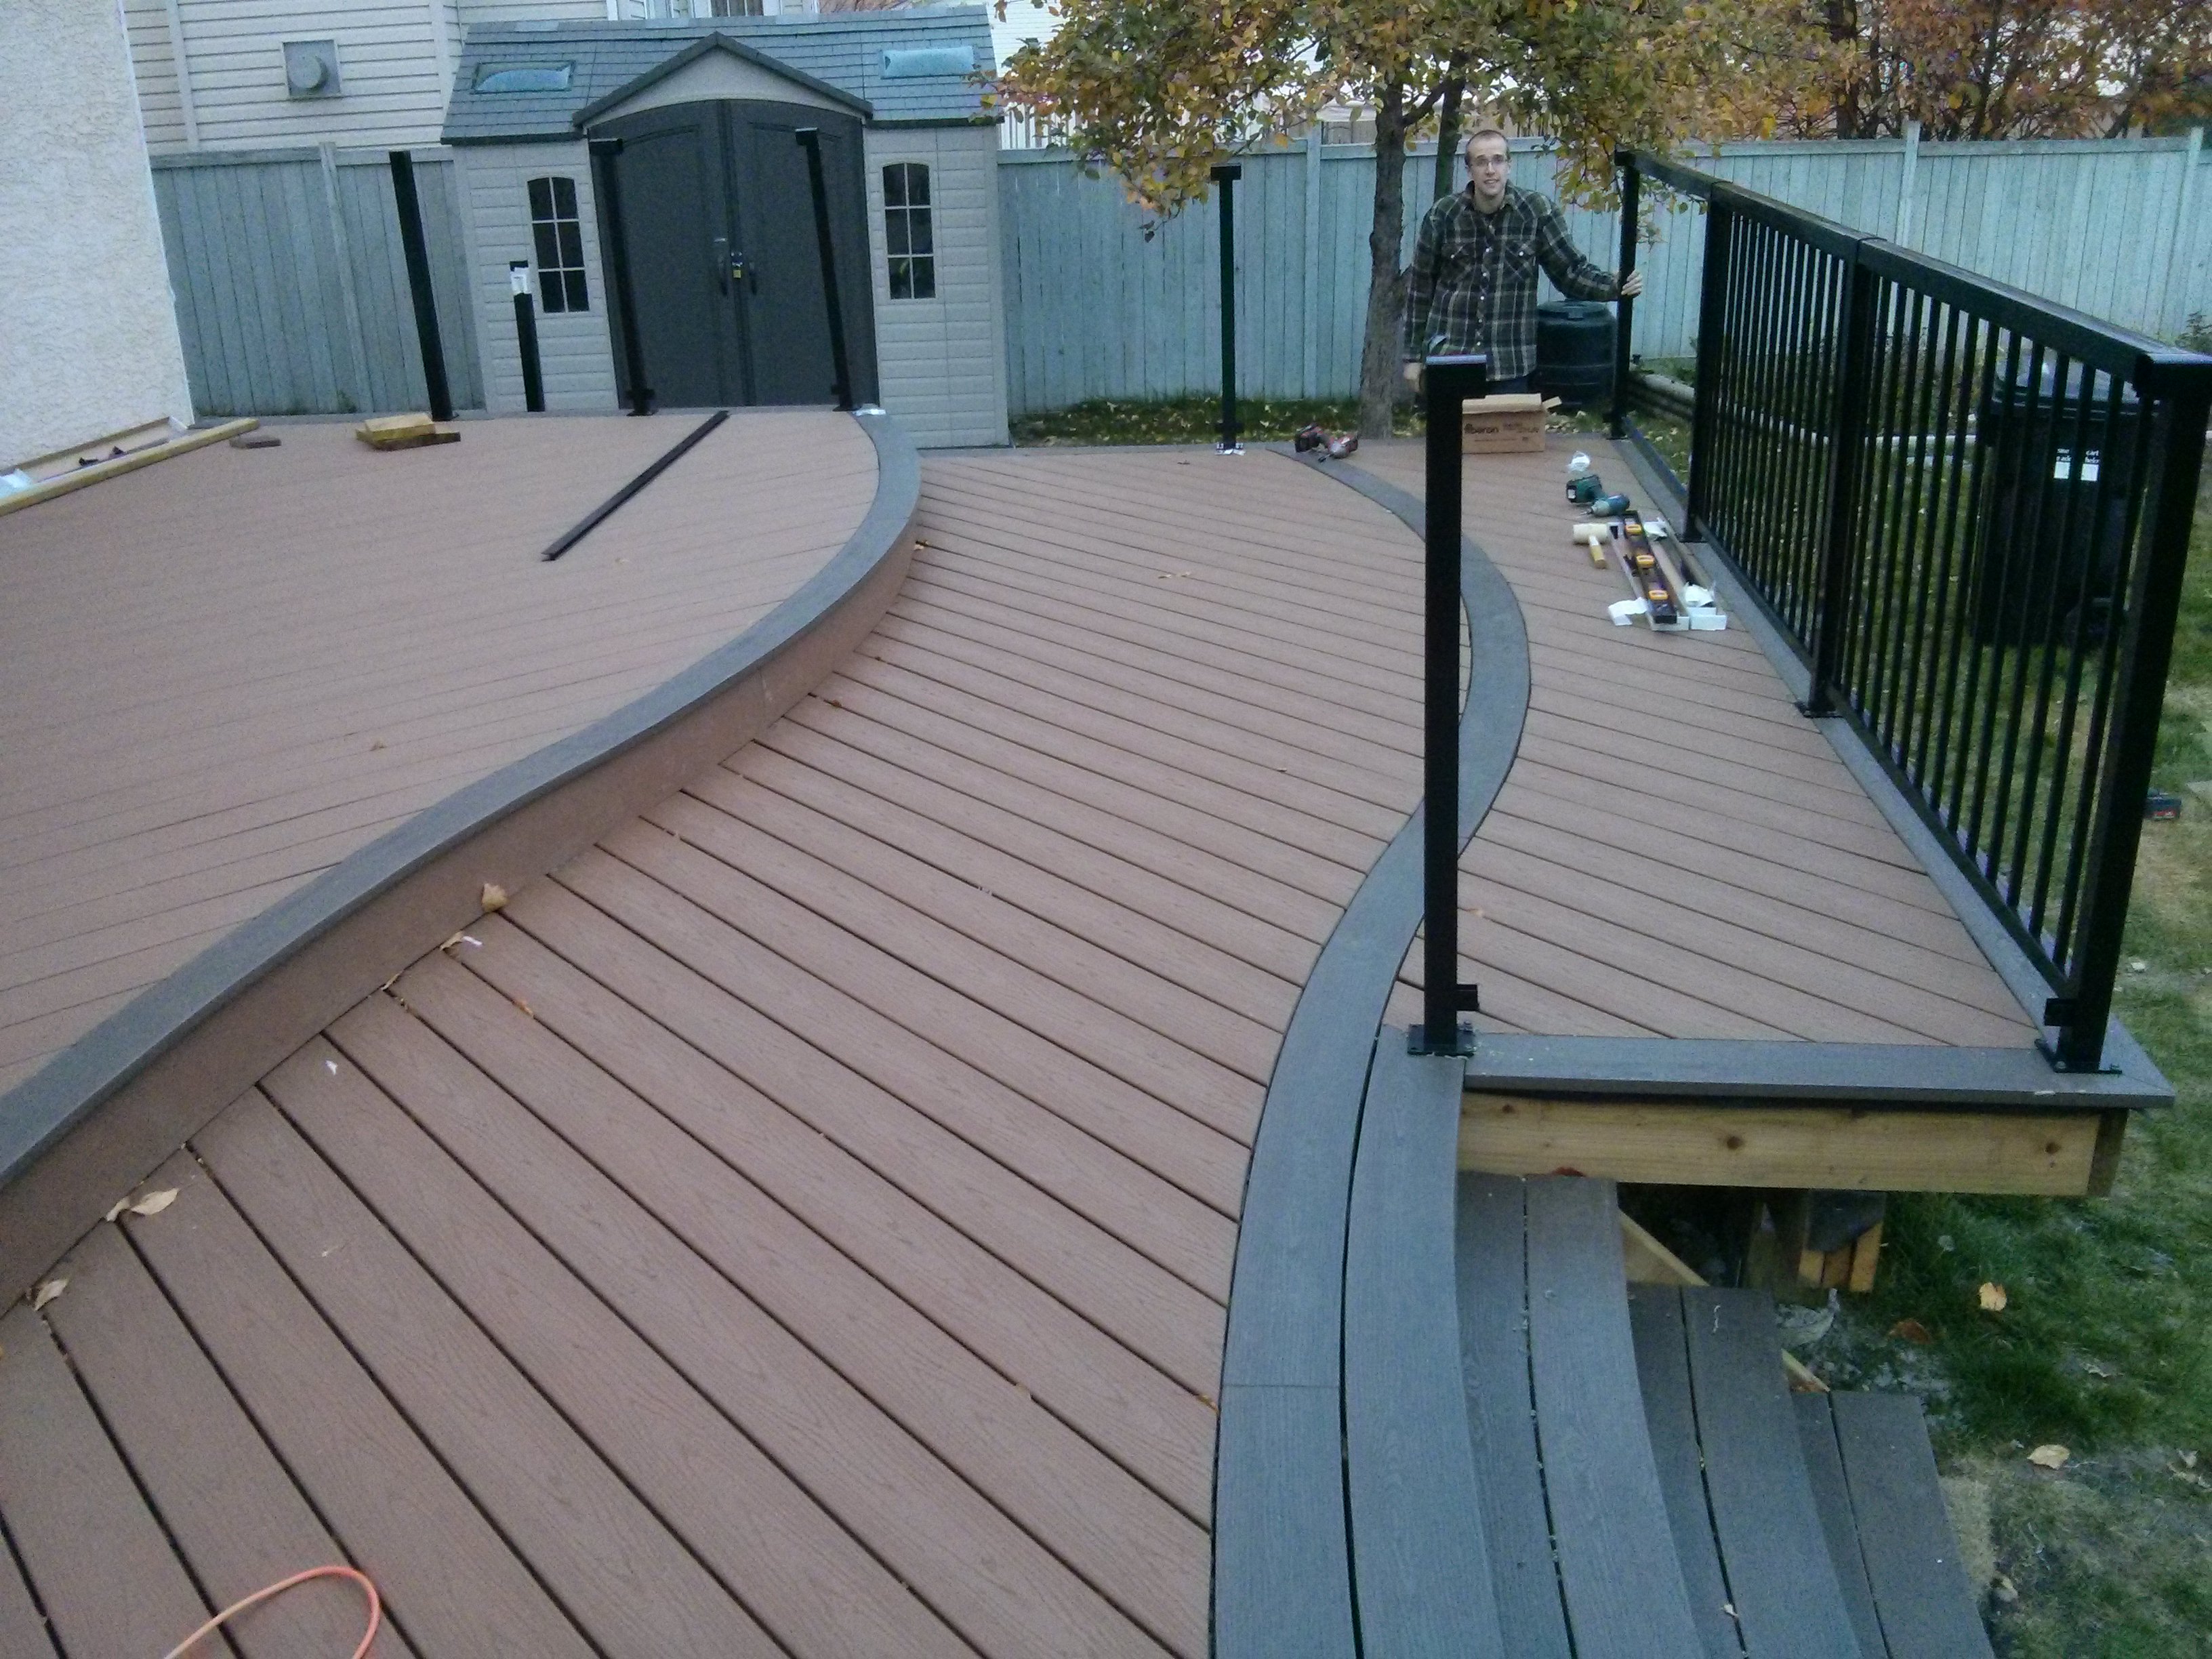
The railing is an aluminum system that is lagged into the rim joists and blocking. The rails are cut to length using a normal miter saw.

I’m very proud of the stairs; this was by far the most time consuming and challenging part of the project.
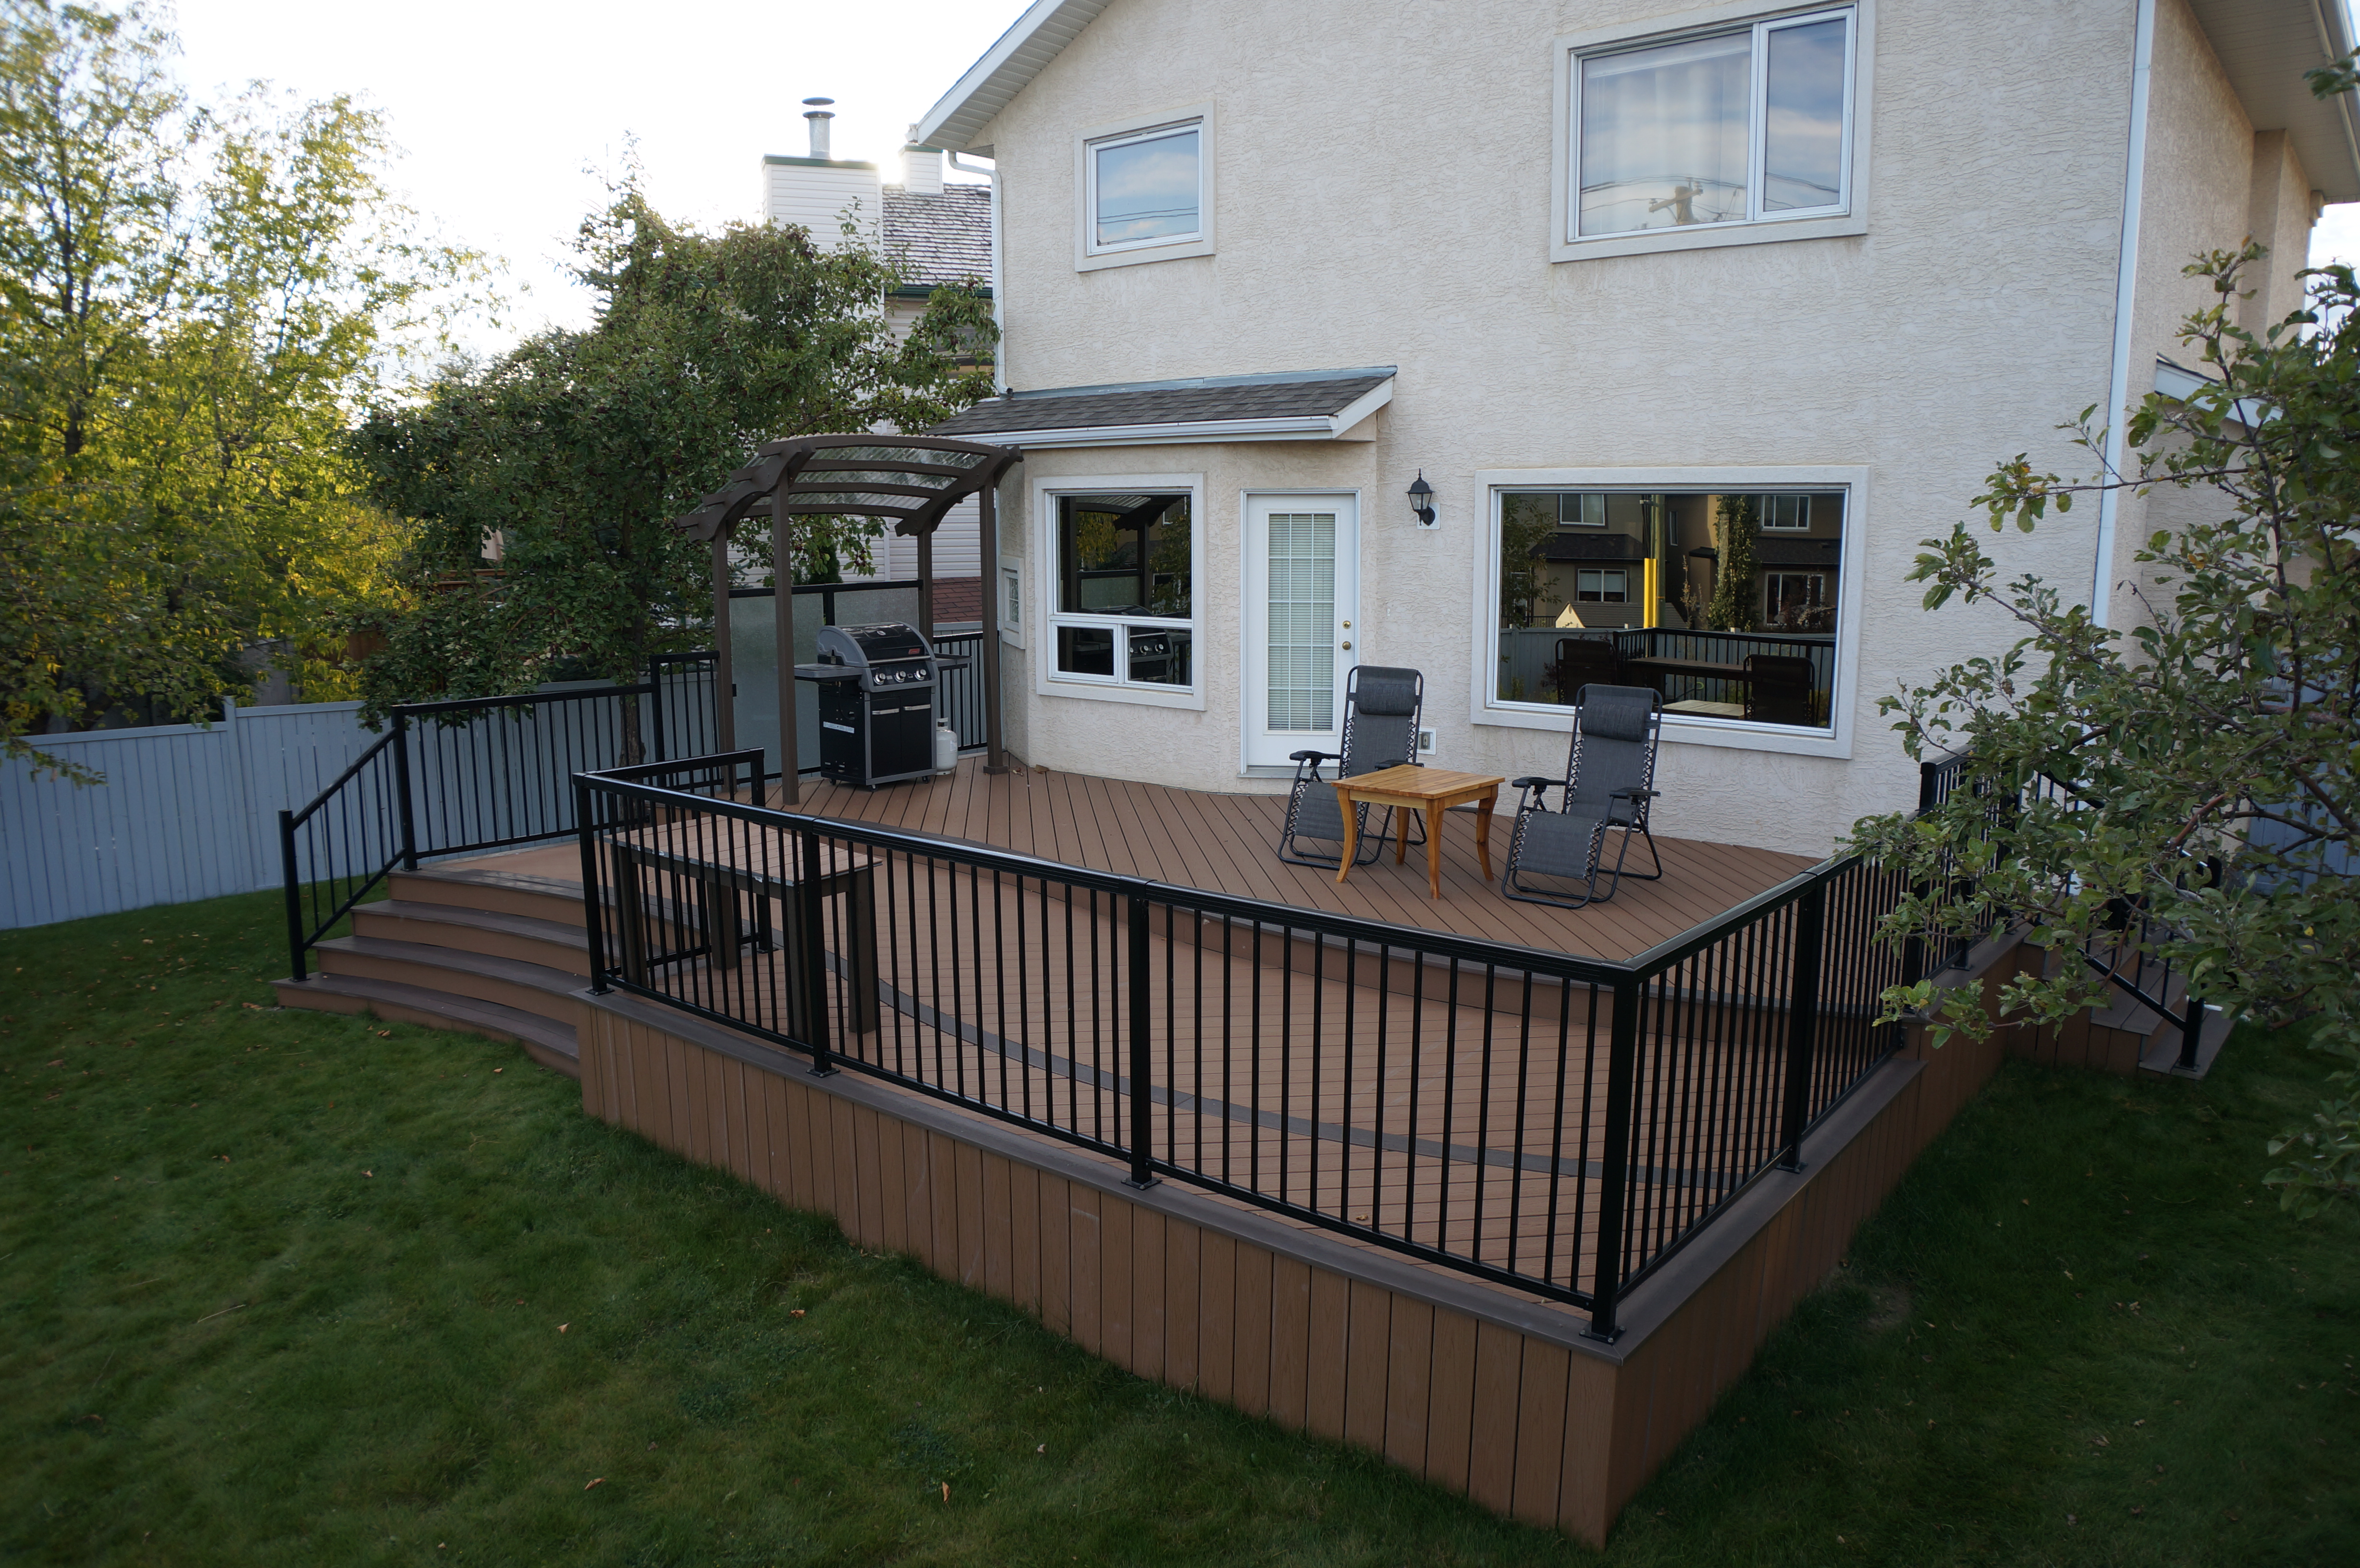
With the completion of the skirting and bbq shelter, we’re all done! This was a long project, but the results were well worth the effort.